What Are the Best Practices for Optimizing 3D Models for Rendering?
- Parth Ashara
- 14 minutes ago
- 8 min read

Before diving into optimizing 3D models for rendering, it’s essential to get clear on one thing: what is your 3D model actually for? This isn’t just a creative decision—it heavily influences your entire approach to 3D model optimization.
Let’s break it down:
Real-Time vs Offline Rendering
If your model is going into a real-time engine—think games, AR/VR, or interactive simulations—performance is everything. In these cases, the focus is on low-poly modeling, efficient UV mapping optimization, and reducing resource-heavy textures. You’ll often rely on techniques like normal mapping and texture baking to simulate detail without burdening the engine. Real-time rendering leaves no room for bloated assets, so keeping your polycount in check and textures well-managed becomes non-negotiable.
QUICK LINKS :
On the other hand, offline rendering—common in animated films, product visualizations, or high-end marketing assets—gives you a bit more freedom. You can afford to include more detail and denser geometry, but even here, best practices for 3D modeling still apply. A cluttered mesh or inefficient UVs can easily bog down your render times or create lighting issues. Whether you're creating cinematic-quality visuals or a product showcase, the goal is to strike the right balance between beauty and efficiency.
Target Platform Considerations
Are you modeling for mobile, desktop, or high-end consoles? Are you building for a VR headset with strict frame rate demands, or a desktop-based render engine with powerful GPU support?
Each platform has its own performance ceiling. For example, a mobile game model must be lean, with aggressive polygon count reduction and heavily optimized materials. A desktop app might give you more headroom, but careless modeling still leads to unnecessary overhead in your rendering pipeline.
Studios like Whizzy Studios understand this distinction well. Their workflow emphasizes platform-specific planning, ensuring models are tailored from the start to meet rendering needs. If you're looking to streamline your asset production for specific rendering requirements, it's smart to hire dedicated 3D modeler support with experience across these environments.
At the end of the day, 3D rendering performance isn’t something you fix at the end. It starts with understanding where your model will live and what constraints it needs to respect. Once you nail that, you’re already halfway toward building efficient, production-ready assets.
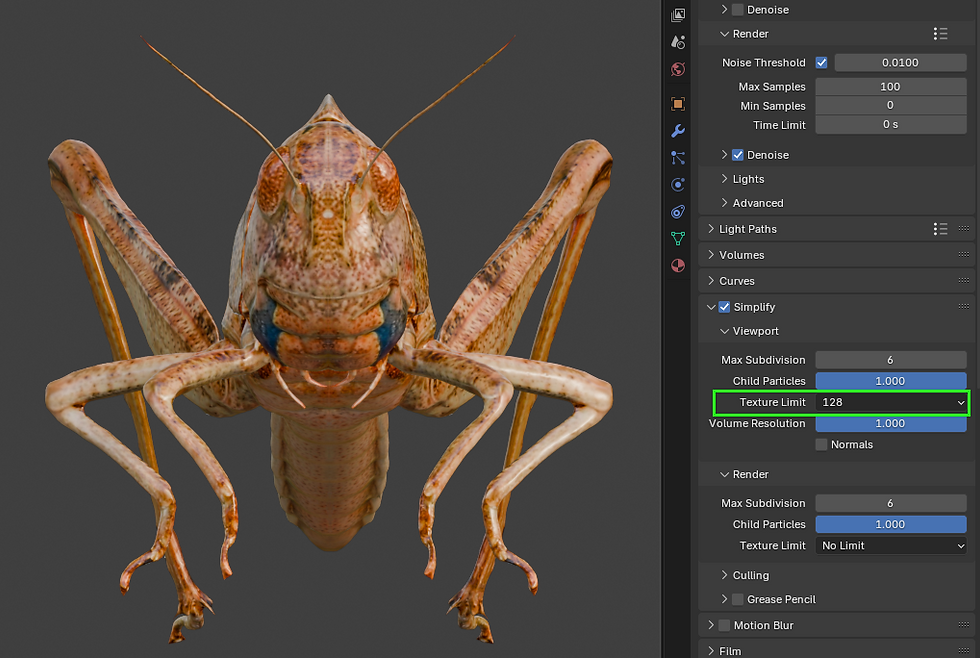
Keep Polygon Count Efficient

When it comes to optimizing 3D models for rendering, one golden rule stands above the rest—don’t use more polygons than you absolutely need. Clean, lean geometry is the backbone of solid 3D model optimization, especially if your assets are intended for interactive media or platforms with tight performance budgets.
Use Only as Many Polygons as Necessary
It’s easy to get carried away adding detail to a mesh, especially when sculpting in high-resolution. But not all that detail needs to live in the geometry. A well-placed normal map or a bit of smart texture baking can fake depth and surface texture while drastically reducing your polygon count.
That’s where experience matters. At Whizzy Studios, the team follows strict best practices for 3D modeling, ensuring geometry is always performance-ready and purposeful—no unnecessary faces, no hidden clutter. If you’re working on complex models and not sure how far to optimize, it may be time to hire dedicated 3D modeler talent that’s skilled at simplifying forms without sacrificing visual fidelity.
Optimize High-Res Models for Performance
High-res models are great for sculpting or close-up renders, but they don’t belong in your game engine or even your general rendering pipeline without adjustments. Use a high to low poly workflow—start with detailed sculpting, then retopologize to create an efficient base mesh. From there, you can bake the high-res details into maps.
This process keeps your final asset light, responsive, and visually rich—perfect for maintaining solid 3D rendering performance whether you're working in real-time or preparing scenes for final renders. Especially in 3D modeling for games, this optimization is a non-negotiable part of the production flow.
Ultimately, trimming excess geometry isn’t just a performance boost—it’s a smart, scalable move that saves time, reduces errors, and makes your assets future-proof.
Use Level of Detail (LOD) Models

A major component of optimizing 3D models for rendering—especially in dynamic or interactive scenes—is implementing Level of Detail (LOD) models. These are simplified versions of your asset that load depending on the viewer’s distance, keeping the visual quality high without draining performance.
Multiple LODs for Varying Distances
Instead of forcing a high-res model to render at every distance, smart 3D model optimization uses different versions: high detail up close, lower detail farther away. This is particularly critical in 3D modeling for games, where environments can be massive and filled with hundreds of active assets.
With LODs in place, you can ensure 3D rendering performance stays sharp across various viewpoints. Each LOD level reduces the polygon count, making it easier on your GPU while maintaining a seamless visual experience. At Whizzy Studios, this technique is part of the standard production process—LOD chains are crafted to maintain visual quality while enhancing efficiency in any rendering pipeline.
Automated LOD Tools
Manually creating LODs can be time-consuming, but today’s tools can help automate the process without compromising your artistic vision. From Maya and Blender to Unity and Unreal Engine, LOD generation tools can simplify meshes and bake in key details using normal mapping and texture baking.
But even the best tools need human refinement. If you're looking to scale your asset production or handle more complex environments, it’s worth considering whether to hire dedicated 3D modeler expertise who knows how to set up and optimize LODs properly for both performance and visual consistency.
Incorporating LOD models not only future-proofs your assets but makes your entire project more scalable and responsive. Whether you’re developing for mobile, console, or VR, it's one of the most impactful techniques for long-term efficiency.
Efficient UV Mapping

You can't talk about optimizing 3D models for rendering without diving into UV mapping optimization. It’s one of those behind-the-scenes steps that, if done right, makes everything from texture baking to rendering way more efficient and predictable.
Minimize Seams and Stretching
Stretchy, broken UVs not only cause ugly textures—they seriously hurt your 3D rendering performance. Whether you're working on characters, props, or environments, keeping UVs clean and distortion-free is a must. Strategic unwrapping with careful placement of seams helps maintain surface detail while keeping the workflow smooth.
The team at Whizzy Studios approaches UV layout with both the model and texture artist in mind. Their pipeline prioritizes best practices for 3D modeling, ensuring UVs are logical, manageable, and tailored for clean textures every time.
Optimize UV Space Utilization
Wasted UV space is wasted potential. Efficient use of your UV space means higher texture resolution where it counts—without increasing file sizes. This is especially important in 3D modeling for games and real-time projects, where a single atlas might serve multiple assets. Smart packing strategies reduce draw calls, lower memory consumption, and help streamline the rendering pipeline overall.
When you hire dedicated 3D modeler experts who truly understand UV optimization, you’re not just getting a clean layout—you’re unlocking better textures, faster load times, and smoother performance across platforms.
So, whether you're preparing assets for animation or a real-time engine, UV mapping optimization is more than a technical task—it’s a performance multiplier baked right into your model.
Texture Optimization Techniques
One of the most underrated steps in optimizing 3D models for rendering is how you handle your textures. Great textures can elevate a model—but if they aren’t managed properly, they can just as easily wreck your 3D rendering performance. That’s why solid texture baking and smart UV mapping optimization go hand in hand with every asset you build.
Use Compressed Texture Formats
High-res, uncompressed textures might look pretty, but they’re performance killers—especially in real-time applications. Using modern, compressed formats (like .DDS, .KTX, or .WEBP depending on your engine) helps reduce memory load and loading times without compromising visual quality. This is a must in 3D modeling for games and AR/VR assets where you can’t afford a laggy experience.
At Whizzy Studios, every model goes through a rigorous texture optimization process. The team not only uses the best formats for each platform, but also ensures the textures stay sharp, clean, and lean—even when resolution is scaled down.
Bake Details into Textures
You don’t always need high-poly geometry to show off surface detail. With texture baking, you can transfer intricate features like wrinkles, seams, and edge wear onto maps using normal mapping and ambient occlusion. This lets you keep the polygon count low while still achieving that high-quality, detailed look.
When you hire dedicated 3D modeler professionals who are trained in 3D model optimization, they’ll know exactly how to bake in detail where it counts—and where to cut back to save performance.
Reduce Resolution Without Quality Loss
Instead of defaulting to 4K or 8K textures for every asset, think contextually. Could a prop work just as well with a 2K map? Can tiling textures replace one giant atlas? A few smart choices here can make a massive impact on your rendering pipeline—without noticeable quality loss.
Bottom line: optimizing textures isn’t about cutting corners, it’s about making informed trade-offs that keep your models looking great and running even better.
Normal Mapping and Baking Techniques
When you're serious about optimizing 3D models for rendering, one of your best friends is the normal map. This technique allows you to simulate complex surface detail without actually modeling it in—giving your assets that high-end finish while keeping the polygon count to a minimum.
Replace Geometry with Normal/Bump Maps
Instead of modeling every ridge, groove, or dent into the mesh, you can use normal mapping to fake the appearance of depth and complexity. This dramatically boosts 3D rendering performance, especially in real-time engines where every extra polygon has a cost.
For example, game characters or props that appear detailed up close can actually be built from simplified, low-poly modeling—with all the richness coming from texture-based shading. It's a core part of how studios like Whizzy Studios build assets that look great and run smoothly.
Bake High-Poly Details onto Low-Poly Meshes
Here’s where texture baking shines. You sculpt your high-resolution model, capturing all the fine surface details, and then bake that data onto a low-res mesh using maps like normal, bump, and ambient occlusion. This high to low poly workflow is a game-changer in both 3D modeling for games and cinematic projects where render times or real-time performance matter.
When you hire dedicated 3D modeler talent with strong baking skills, they’ll know how to avoid common pitfalls like projection errors, smoothing issues, and padding glitches—ensuring clean, professional results every time.
Whether you're enhancing a hero character or detailing a rugged environment prop, normal mapping is an essential part of the 3D model optimization toolkit. It gives you the freedom to focus on creative detail without compromising the technical side of your rendering pipeline.
Conclusion
When it comes to optimizing 3D models for rendering, it’s not just about making things lighter—it’s about making them smarter. Every step, from low-poly modeling to UV mapping optimization, plays a vital role in improving overall 3D rendering performance. Whether you're building assets for games, animation, or product visualization, applying these best practices for 3D modeling ensures your work looks stunning without pushing systems to their limits.
Techniques like texture baking, normal mapping, and polygon count reduction allow artists to hit that sweet spot between performance and quality. Understanding your rendering pipeline, using LOD models, and adapting to target platforms are key to avoiding bottlenecks and bloated files.
At Whizzy Studios, these workflows are embedded into every project. Their expertise in 3D model optimization helps clients across industries produce clean, production-ready assets that are both visually rich and performance-friendly. And if you need help streamlining your own pipeline, it might be time to hire dedicated 3D modeler professionals who specialize in this very thing.
In the end, better optimization means better results—and a much smoother path from concept to final render.
Comments